


Wall wraps look easy. That’s the whole problem.
You watch somebody on video smooth a big sheet of film across a wall in about ninety seconds, and it goes on like wet paper, no bubbles, no fuss. Then you try it in your own living room and the thing grabs the wall at the wrong angle, folds over on itself and sticks to your arm. Everybody has a moment like that. The people who get good results mostly just know a few unglamorous things before they begin.
I’ll go through those things in roughly the order you’d run into them, and I’ll say where I think people waste time.
Why people go for wraps here
A lot of homes in Dubai are rented. Landlords will usually let you hang pictures, but they’re far less relaxed about a feature wall in deep teal, and repainting it white when you leave is a hassle nobody wants. A wrap solves that. It goes up in an afternoon, there’s no dust, and it comes off again when the lease ends. Shops and offices like the same thing for a different reason: you can change the look of a room over a weekend, without closing for a week.
Interior wrapping in Dubai also happens to be a good fit for the climate, since the films are tough and easy to wipe down. That said, the heat that makes the film durable makes it awkward to install, which is a point I’ll come back to.
Start with the wall, and be a little obsessive
Honestly this is where most jobs are won or lost. Vinyl is thin and it copies whatever is under it. A ridge of dried paint, a hole that never got filled, even a line of dust along the skirting, you will see all of it, especially when the evening light comes in sideways across the wall.
Read More: How Different Pressure Washer Engines Affect Cleaning Performance and Efficiency
Wipe it down with a damp cloth. Then wipe it again with a bit of isopropyl alcohol and let it dry completely. Hallways and kitchens get a second go, because grease and hand marks are almost invisible and the adhesive hates them. Fill the holes. Sand them flat. If any paint is flaking, scrape it off, because it’ll come away with the wrap eventually anyway.
Now the part people don’t want to hear. If the wall was painted last week, wait. It might feel bone dry, but paint takes a long time to harden all the way through, and wrapping too soon traps moisture behind the film. Three weeks is the usual advice, although it depends on the paint, so ask the painter if you can. Smooth walls with a matt or satin finish are the easy ones. Rough, textured plaster is awkward, and I’d leave that to someone who’s wrapped it before.
About the heat
Here’s the thing I mentioned earlier. People assume a cooler room is easier, so they turn the AC off and open the window to let some air in. Please don’t. In Dubai that mostly brings in hot, humid air, and warm vinyl goes soft and stretchy while the adhesive gets grabby much too early.
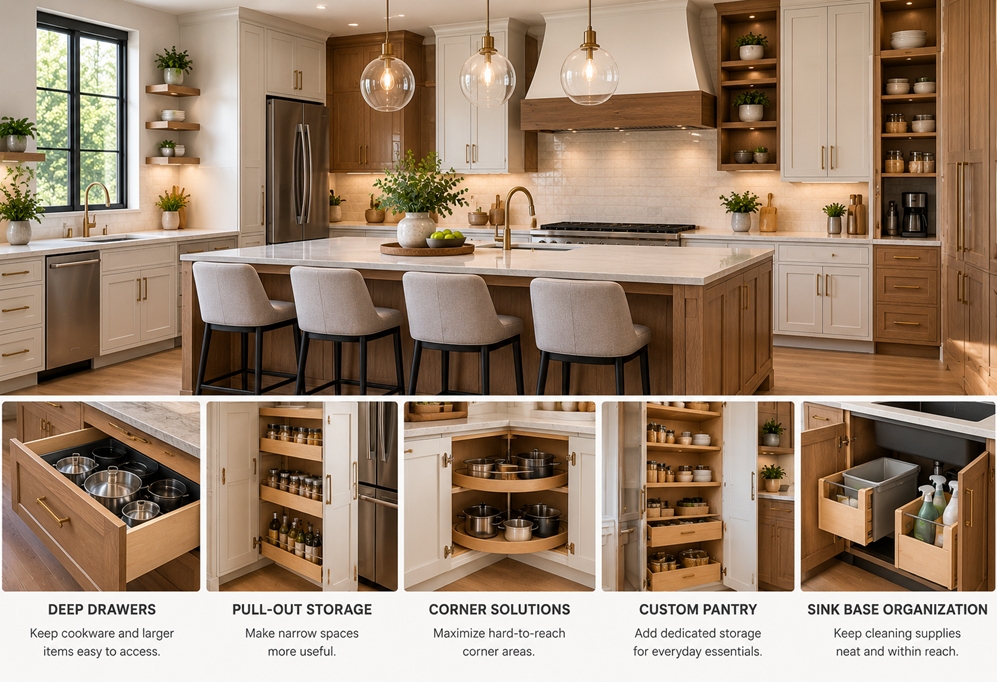
Read More: How a Well-Organized Kitchen Can Improve Everyday Home Living
Most film makers want you working at around 20 to 25 degrees, but read the data sheet for your film, because it varies. Keep the AC going, try not to work on a wall that’s catching direct afternoon sun, and leave the roll out in the room for a few hours so the film is at the same temperature as the wall.
Measure like you don’t trust yourself
Take the height and width of each wall, and add a few centimetres on every side. The spare gets trimmed off at the end. Walls here are rarely perfectly square, even in newer buildings, and finding out you’re 2 cm short at the top is a miserable moment.
If the wall is wider than your roll, you’ll need a seam, so decide where it goes before you cut anything. The middle is the obvious spot and it’s usually the worst one, since that’s exactly where people look (and where the TV or the sofa tends to sit). Shift it. And if the design has a pattern, lay the panels out on the floor and check how they match. It takes ten minutes and could save a whole roll.
What’s in the toolbox
You really don’t need much. A squeegee with a felt edge, because a bare plastic one can scuff the surface. A sharp craft knife and plenty of spare blades. A hairdryer will do the job of a heat gun, if you don’t own one. Then a spirit level, masking tape, a tape measure and a clean cloth. If you can get knifeless tape, it makes straight cuts easier, because you aren’t dragging a blade over your wall.
Change blades more often than feels sensible. Blunt ones tear the film and you don’t spot the damage until later.
Actually putting it on
Ignore the ceiling and the corners as a guide, because they’re almost never straight. Draw a vertical line with your level and begin there.
Peel back maybe 20 or 30 cm of backing at the top, press that part onto the wall, and keep peeling as you go down. The squeegee works from the middle outwards, with each stroke overlapping the last, so the air gets pushed to the edges and out. That’s the whole trick, really.
If a wrinkle appears, stop. Lift the film gently, let it drop back and squeegee again. The temptation is to tug it tight and flatten the thing out, and that’s the move that causes trouble, because stretched vinyl always tries to shrink back, which is why edges lift a few weeks later. For a small bubble, a fine pin and a press with your fingertip is usually enough.
Slow right down at the seams. Check the alignment twice before you press hard. It’s the one place where a mistake stays visible.
Switches, sockets, corners
Turn the power off at the board first. Unscrew the plates, wrap behind them and screw them back on. Cutting round the plate leaves a rough edge that tends to peel.
For corners, warm the film a little until it softens, press it in, and then stop fiddling with it. Don’t drag it round the corner, since that stretches it. At the ceiling and the skirting, run a sharp blade along a metal ruler in one steady stroke. Lots of nervous little cuts always look worse.
The usual ways it goes wrong
Boring things, mostly. The wall wasn’t cleaned. The paint was only a few days old. The room was hot. Nobody used a level, or there wasn’t any spare film. If a wrap fails, I’d bet money it’s one of those five.
Looking after it
Leave it alone for a day so the adhesive can settle, then wipe it with a damp cloth and a drop of mild soap. Skip the harsh sprays and the scouring pads, as they take the finish off.
If you rent, ask the landlord before you start and get the answer in writing. Plenty of them say yes to removable wraps, but a casual “sure, go ahead” is no help when you’re arguing about the deposit a year on. When the time comes, warm the film gently and peel it slowly, close to the wall.
DIY, or call someone?
One small feature wall is a decent first project if you’ve got patience. Anything large, patterned, textured or full of corners is a lot harder than it looks, and I’d hand that to a professional. A good company doing interior wrapping in Dubai should look at your wall properly, tell you honestly which film suits it, and handle the seams far quicker than you will. When you ask for quotes, find out what preparation is included, which brand of film they use and whether the installation has a warranty. A very low price often means the prep has been left out.
Quick questions
How long does a wrap last?
Several years, if the film is decent, the wall was prepared well and the room isn’t permanently damp or in full sun.
Will it damage the paint?
Not on solid, fully cured paint. A little heat helps it peel cleanly. Fresh paint, or paint that was already coming off, is a different matter.
Can I use one in a bathroom or kitchen?
Sometimes, with a moisture-resistant film and sealed edges. Avoid spots that get splashed directly or sit in steam.
How long does it take?
A single feature wall takes a few hours. A full room, or a patterned design, takes longer.
If you’re unsure about your wall, a good team doing interior wrapping in Dubai can usually tell in about five minutes whether it’s an easy job or a fiddly one. That’s worth finding out before you spend money on a roll.



Leave a Reply